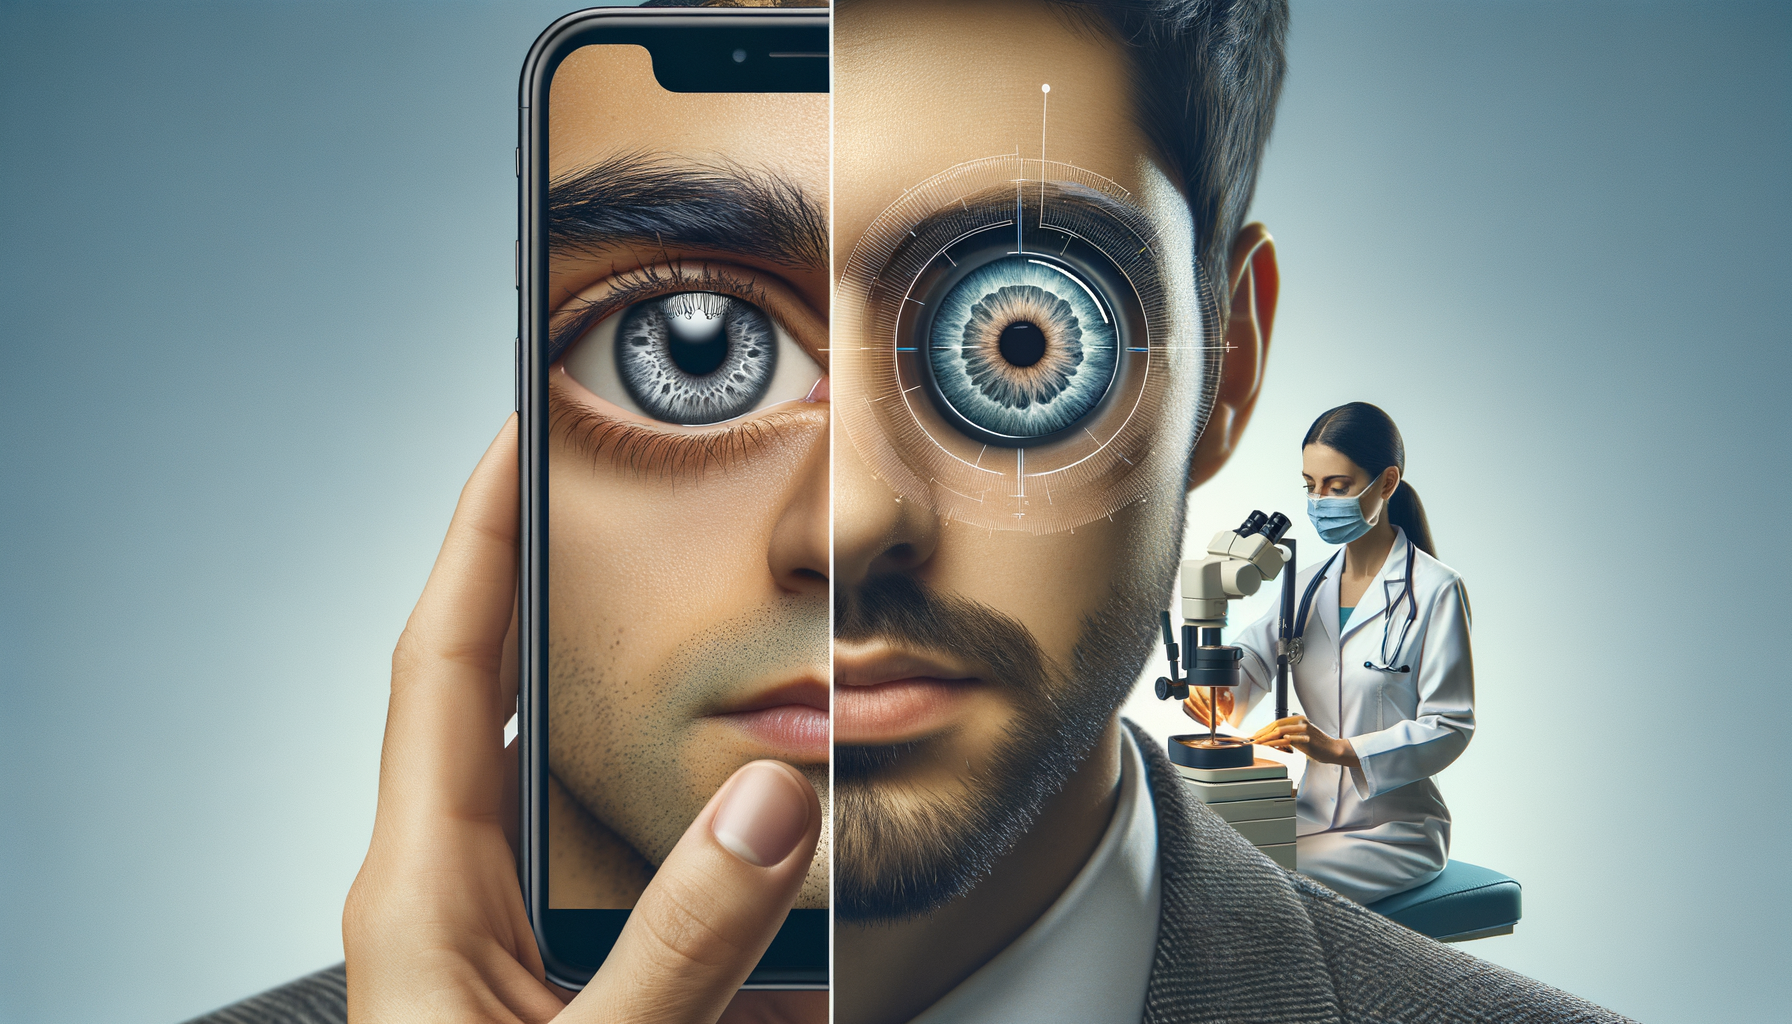
Introduction: The Quality of Your Photo Matters
The most advanced AI iris analysis is only as good as the photo you provide. A clear, well-lit iris image can reveal intricate patterns, while a blurry or dark photo will limit what can be assessed.
Essential Equipment
You don't need professional equipment:
- Any modern smartphone (2-3 years old or newer)
- Good natural or artificial lighting
- A steady hand or tripod
- A mirror (optional but helpful)
Step-by-Step Photography Guide
Step 1: Find the Right Lighting
Natural daylight is best. Position yourself near a window, but avoid direct sunlight hitting your eye.
Step 2: Set Your Camera Settings
Enable macro mode if available, disable flash, and use the highest resolution setting.
Step 3: Position and Distance
Hold the phone 6-8 inches from your eye. Use your front-facing camera and a mirror for easier framing.
Step 4: Focus and Capture
Tap on your iris to focus, hold steady, and take multiple shots.
Common Mistakes to Avoid
- ❌ Using flash (creates glare and washes out detail)
- ❌ Shooting in dim lighting
- ❌ Taking only one photo
- ❌ Moving while capturing
- ❌ Zooming digitally (reduces quality)
Upload Your Best Iris Photo to Eyescan.me
Once you have clear iris photos, visit eyescan.me to upload and receive your detailed wellness analysis.
Conclusion: Good Photos = Better Insights
Taking 2-3 minutes to capture a high-quality iris photo will dramatically improve your analysis results and unlock deeper wellness insights.